Disclosure: This post may contain affiliate links that I may earn a small commission from, at no additional cost to you. I only recommend products I would or have used myself.
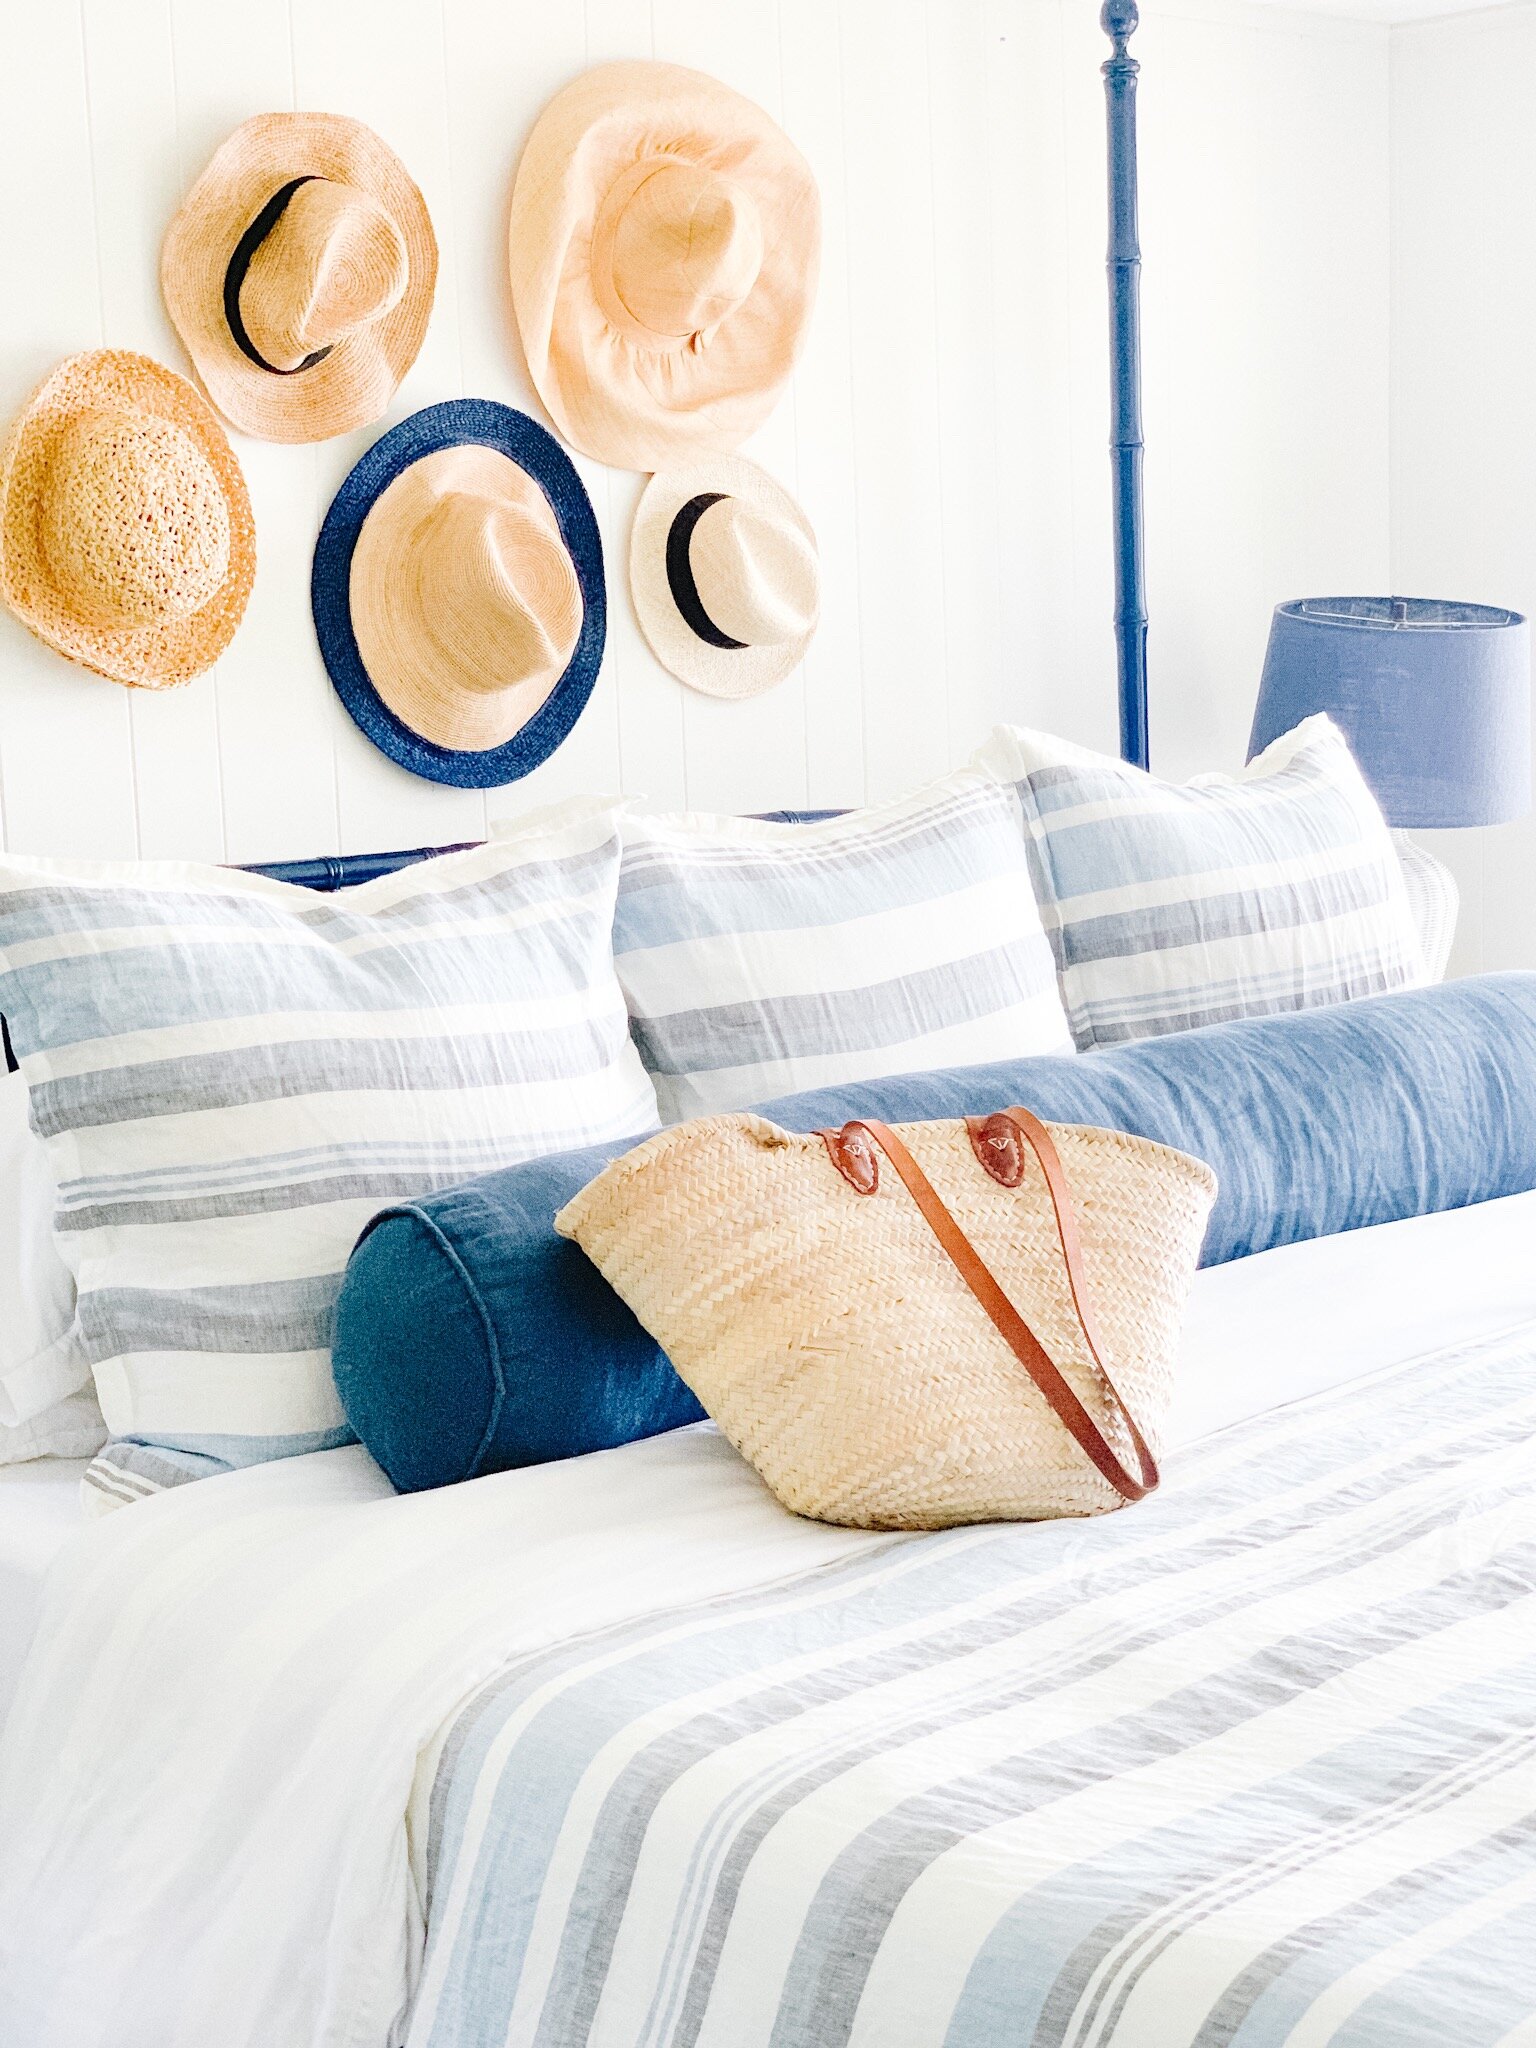
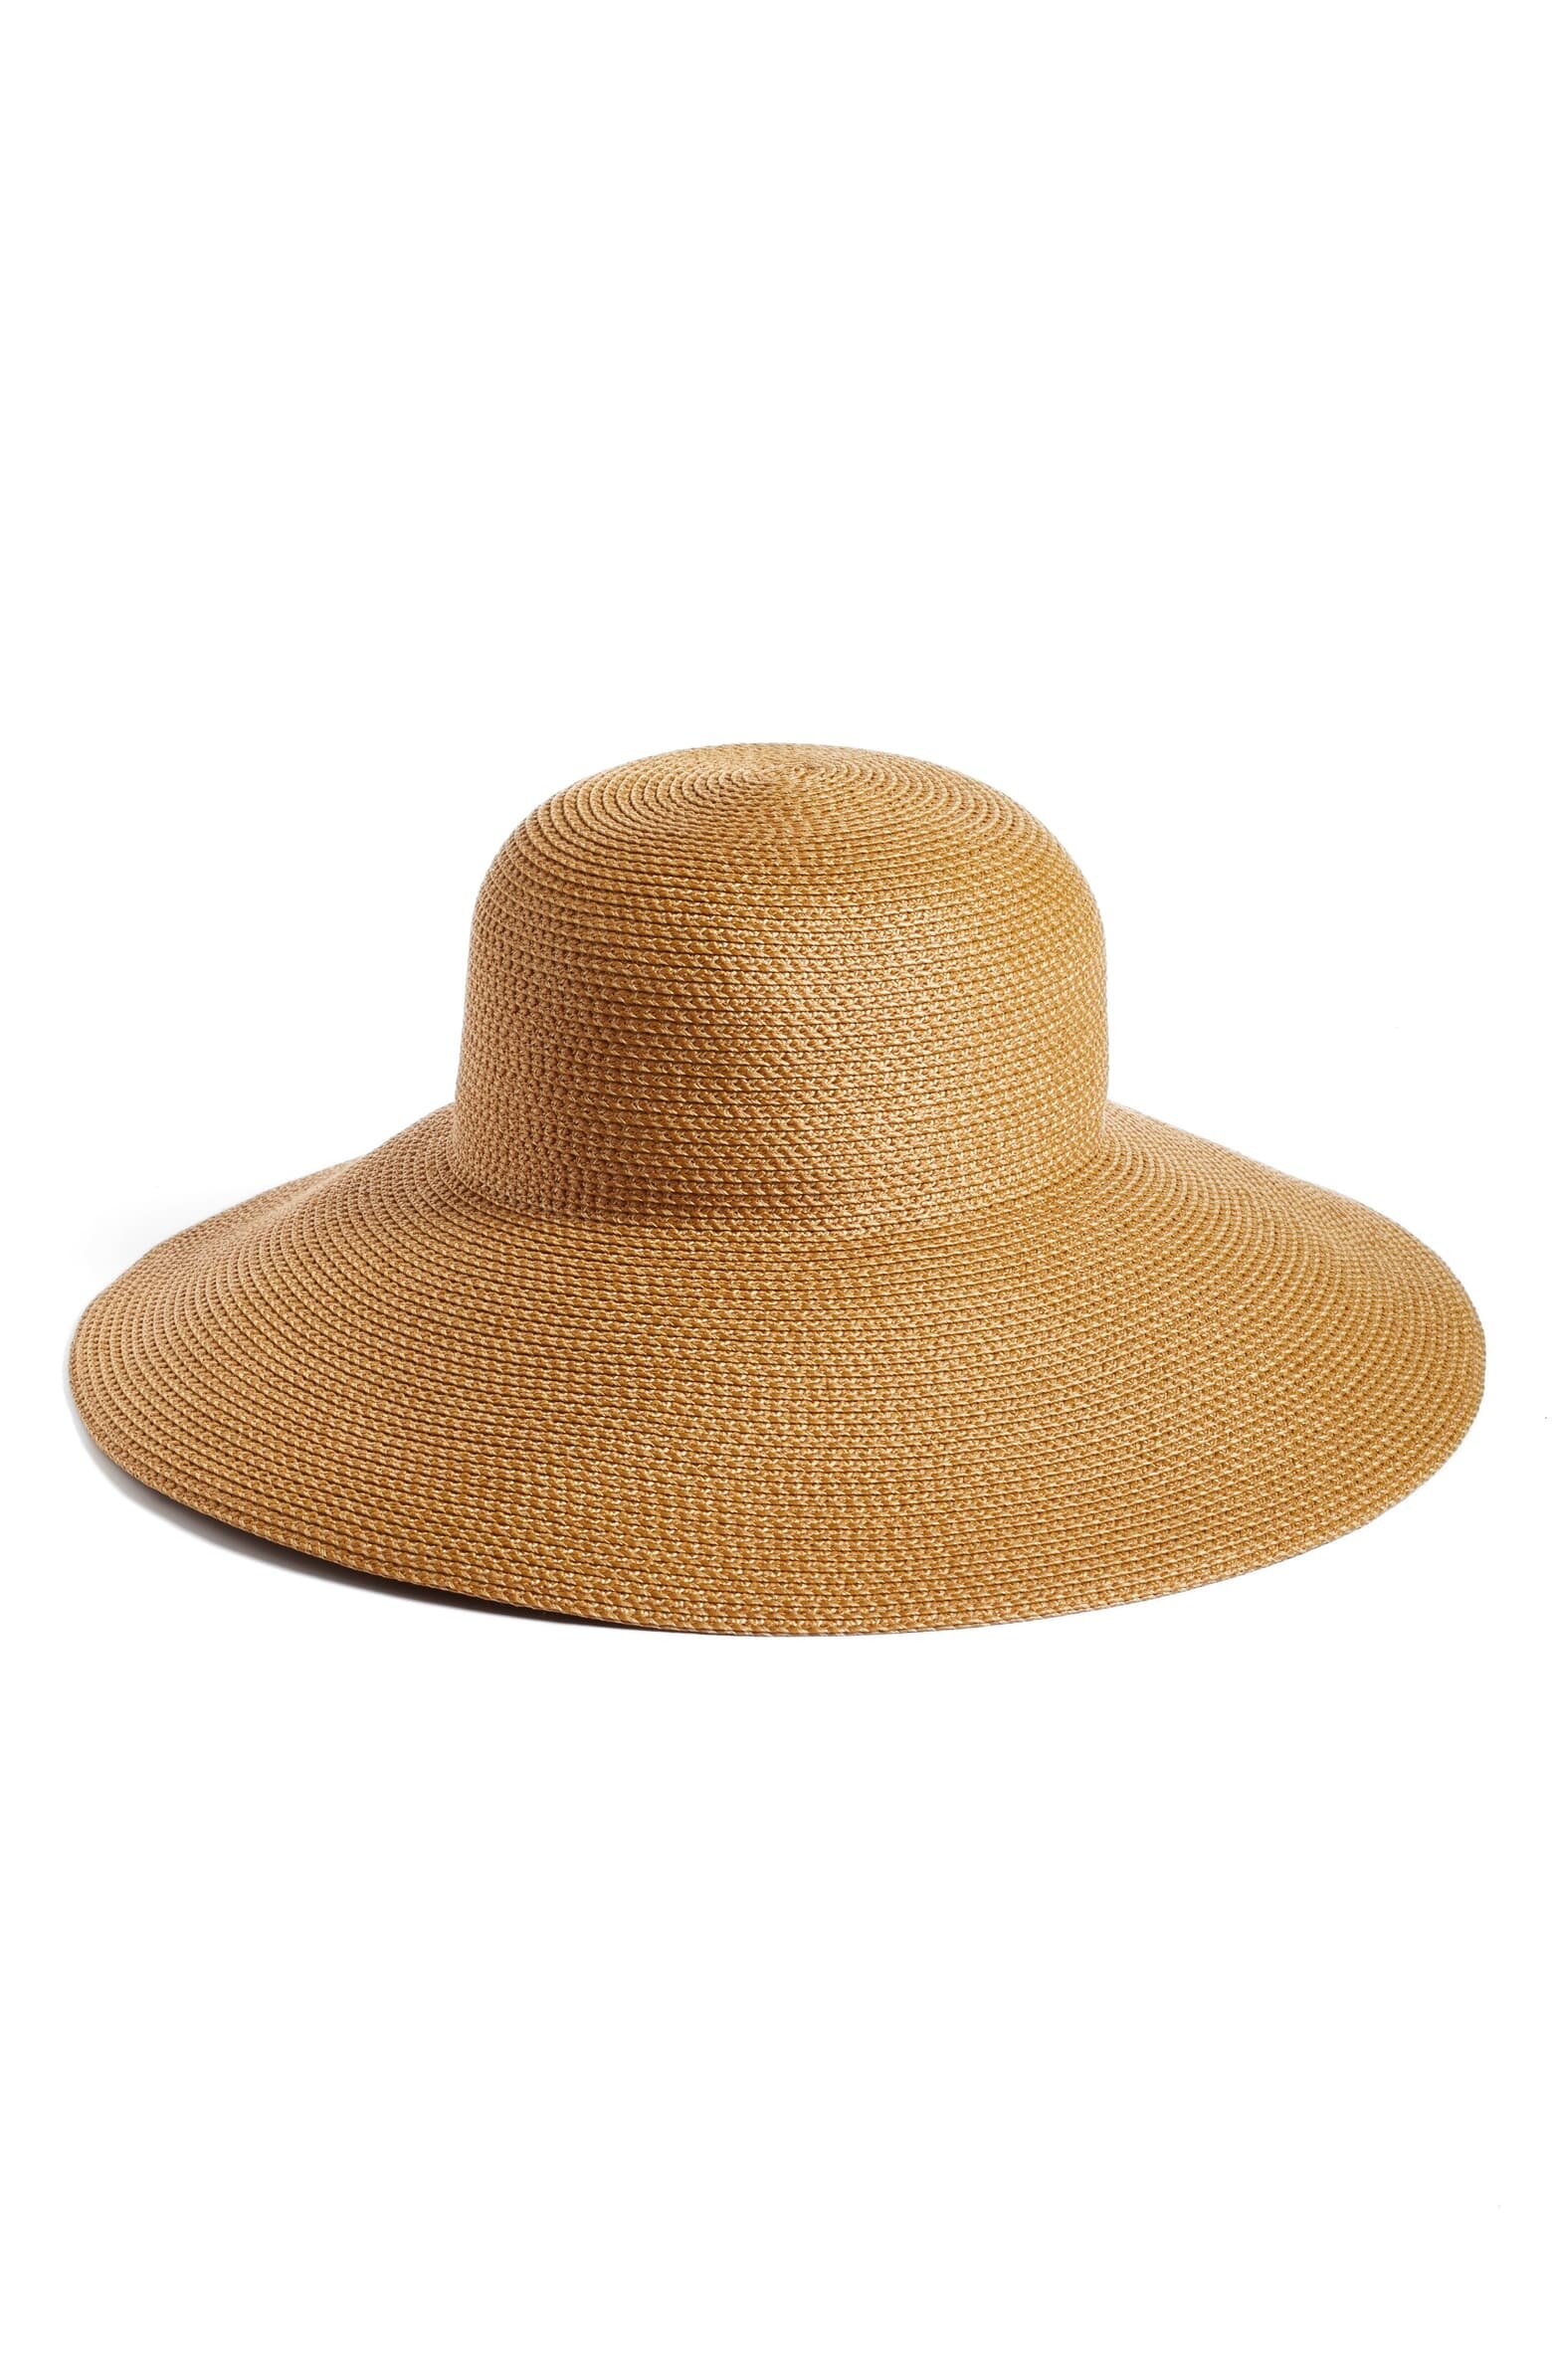
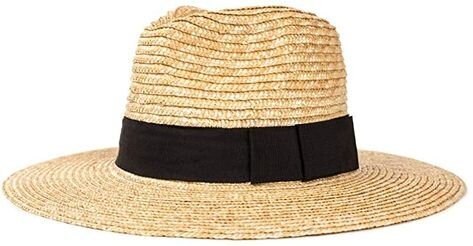
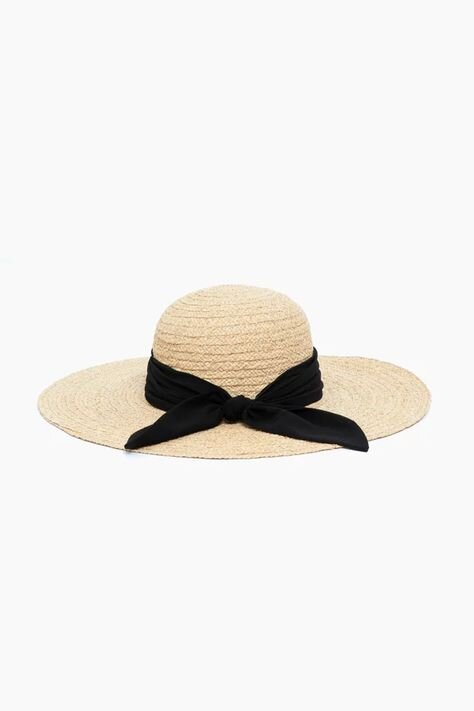
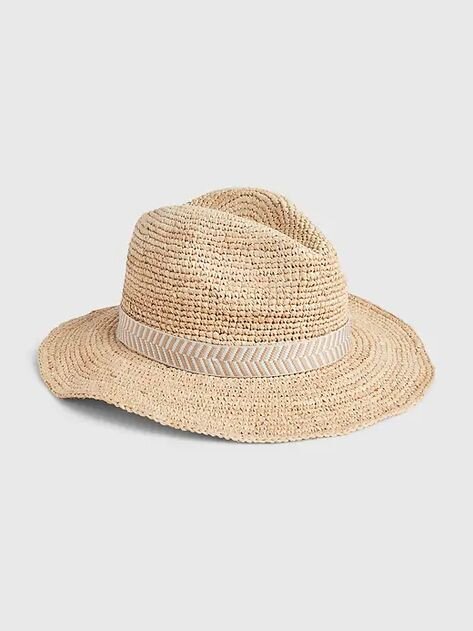
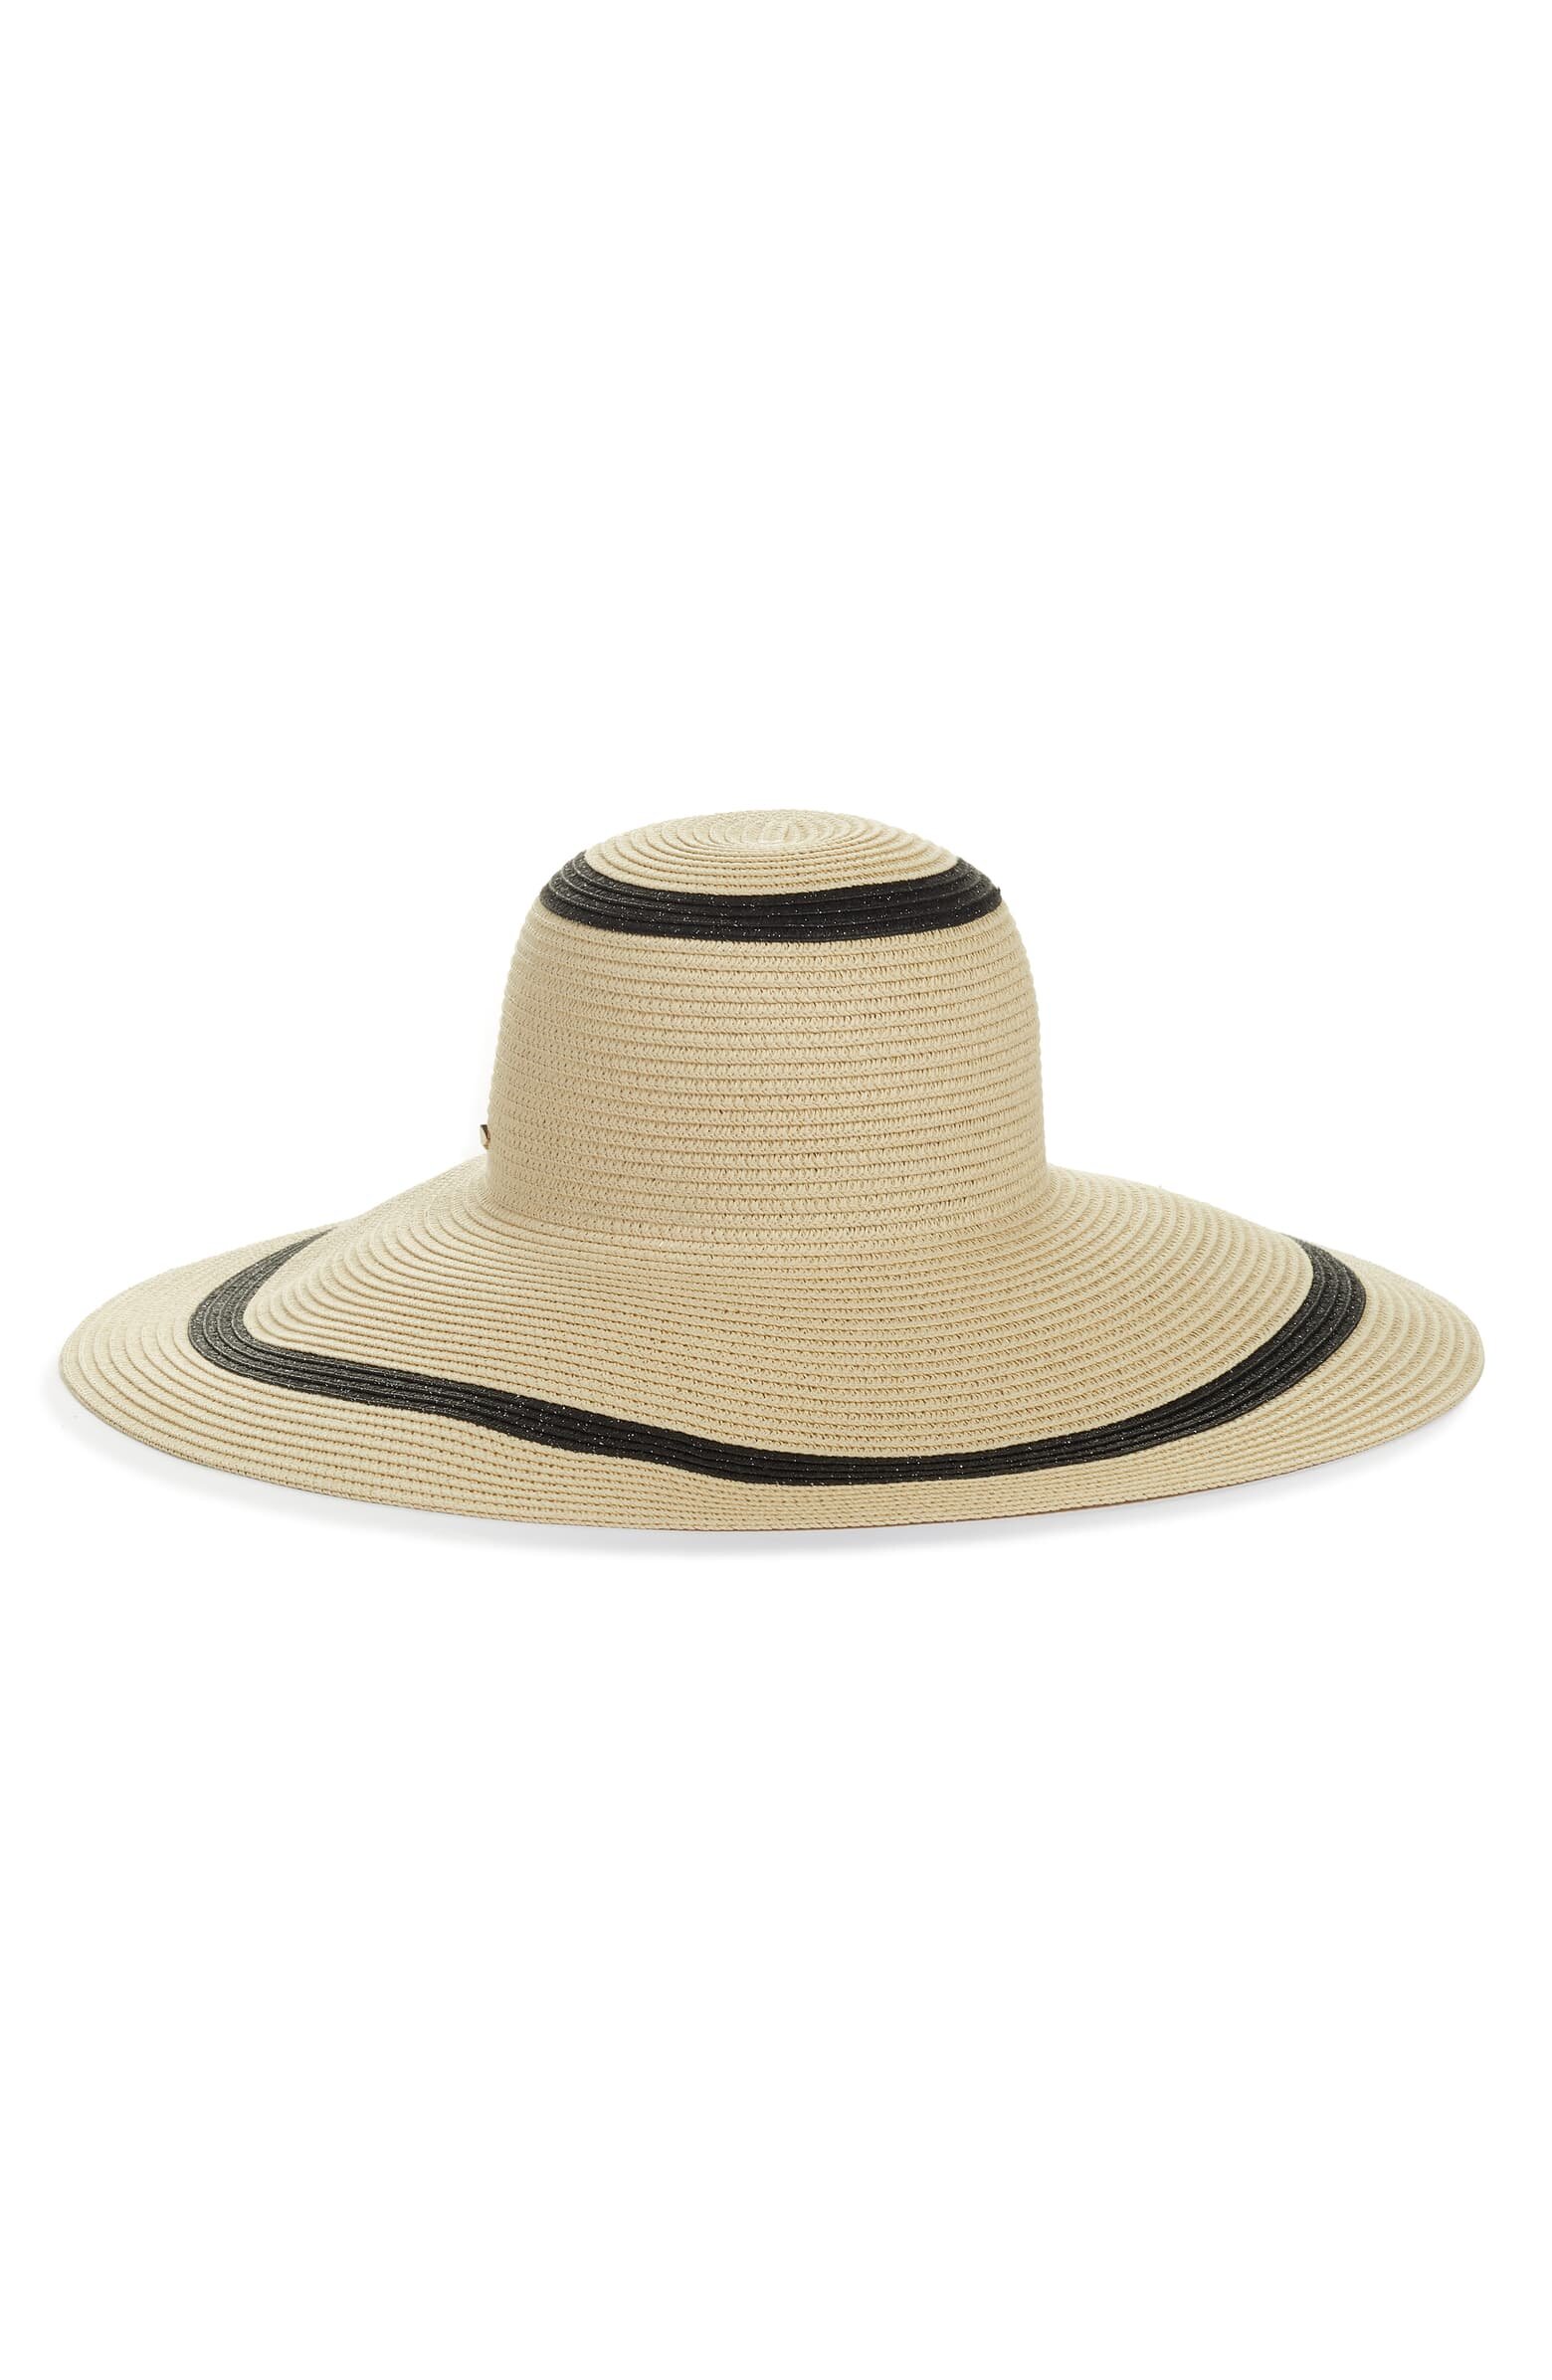
I love a beach hat. Probably because my mom has always been notorious for wearing one. She has a beautiful collection of straw hats that she has picked up during her travels to Europe and the south. My bedroom wall needed art work but instead I decided a hat wall would be perfect for the empty space above my bed. We wear the hats and simply replace them when the beach day is done. Here is how I created my hat wall in 3 easy steps.
-
Collect your straw hats and create your layout depending on the amount of hats you are going to use. You can either wing it or create a layout on the floor. I had 5 hats to use on my wall so I created a staggered effect. If you only have 3 hats you could do three in a row. If you have more than 5 you can play with the layout however you prefer.
-
I used nails to hang my hats but you could also use hooks. I did not want any hardware showing so I opted for something discreet like a nail. I simply hammered the nail into the wall where I was going to hang each hat. Making sure there is plenty of space for each hat to lay out fully and not be crowded.
-
Hang your hats. You may have to play with the arrangement if it involves different colors or textures. Just see what looks best to the eye!

